KLayout plugin
The Quantcore plugin turns KLayout into a drawing board for design.json. You place components, connect their ports,
check the design, run the LOM and the simulations, and export the mask, all from KLayout’s menu and a side panel.
Use it to build a chip by clicking. To work in code instead, see scripted design with KLive.
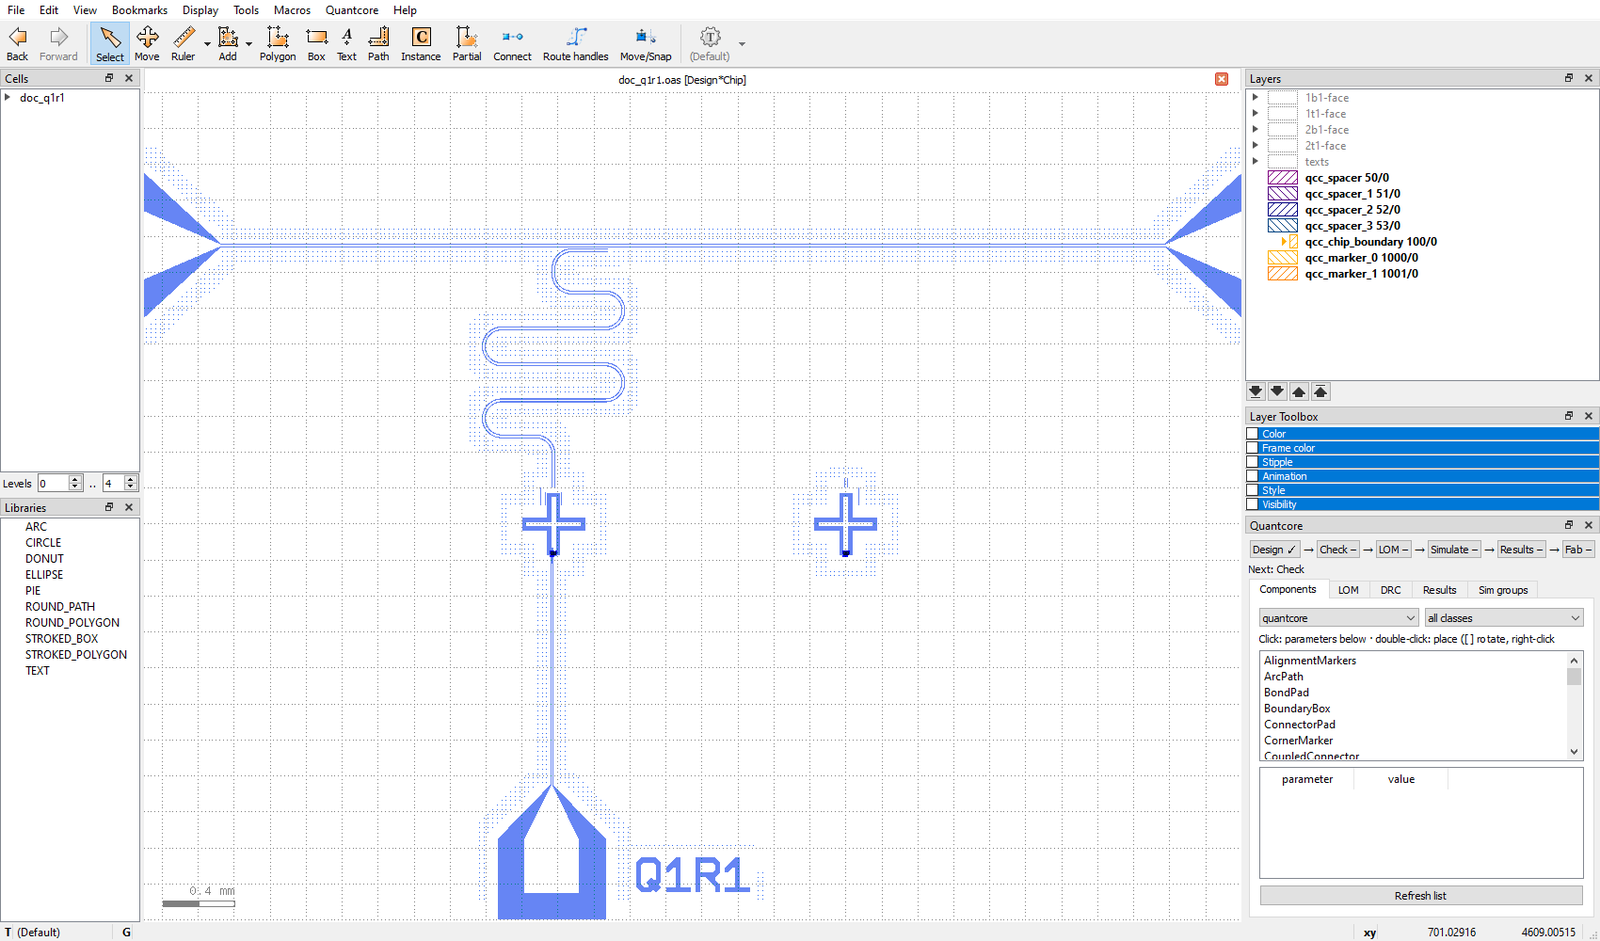
KLayout with the plugin: the Quantcore menu, the three tools in the toolbar, and the Quantcore panel with the Flow strip on the right.
What it is
A KLayout Salt package (the folder
kplugin/of the repository, published on the repository’sklayout-pluginbranch, which holds the package alone). It uses only KLayout’s own Python (pya) and the standard library.It is a front end for the library. Every action edits
design.json, callsqcc(the command line of this library) to rebuild the layout, and reloads the result in place. The overlays (ports, handles, previews) come from thebuild/<name>.qcc.jsonfile that everyqcc buildwrites next to the OAS.It does not import
quantcore_circuitsor KQCircuits inside KLayout. Slow work (build, LOM, simulation) runs asqccbackground jobs, so KLayout stays usable.Items the code marks as “coming soon” are named as such in these pages.
Before you start
You need KLayout 0.30 or newer (the plugin was tested with 0.30.3) and the library installed in a Python environment
that has qcc (pip install --pre "quantcore-circuits[all]", see getting started).
Install into KLayout
The normal route is KLayout’s package manager (Salt):
In KLayout open Tools > Manage Packages, then Install New Packages.
Search for
quantcore-circuitsand install it. The package comes from the repository’sklayout-pluginbranch (git+https://github.com/Quantcore-Technologies/Quantcore-Circuits.git[klayout-plugin]): KLayout downloads that branch only.Restart KLayout. After a plugin update restart it again, because KLayout keeps the modules it loaded at start.
From a checkout (for development)
Without installing anything, start KLayout with the plugin loaded straight from a clone of the repository:
klayout_app.exe -e -rm kplugin\load_dev.py
This is also what quantcore_circuits.live.klayout.open_klayout() runs, so Designer(..., live=True) opens a KLayout
with the plugin by itself (see KLive). To keep the checkout installed as a package, link it into KLayout’s
Salt folder (Windows):
mklink /J "%USERPROFILE%\KLayout\salt\quantcore-circuits" "C:\path\to\Quantcore-Circuits\kplugin"
First launch
After the restart a Quantcore menu sits next to Help, and three tools appear in the toolbar.
Open Quantcore > Settings…. If qcc executable is empty, the plugin looks for
qccon the PATH, then in a conda env namedqcd(%USERPROFILE%\.conda\envs\qcd\Scripts\qcc.exe). Ifqccis neither, set the full path toqcc(orqcc.exe) by hand.Open the panel with Quantcore > Quantcore panel (Ctrl+Shift+P). It docks on the right.
Start with Quantcore > Design > New design… or Open design…, and continue with the tour or the Q1 + R1 tutorial.
New to KLayout itself? Read KLayout basics first.
The pages of this section
Page |
What you learn |
|---|---|
The parts of the KLayout window, as far as the plugin needs them |
|
A picture of every part of the plugin |
|
Placing components, snapping, connecting, route handles, hangers, sim groups |
|
Check, LOM, Simulate, Results, Tune and Fab from the panel |
|
Drive KLayout live from a Python script or notebook |
|
Draw a qubit with a readout resonator, step by step |
|
Which library components were placed through the plugin |
The long reference is the plugin’s README, kplugin/README.md, next to the code.